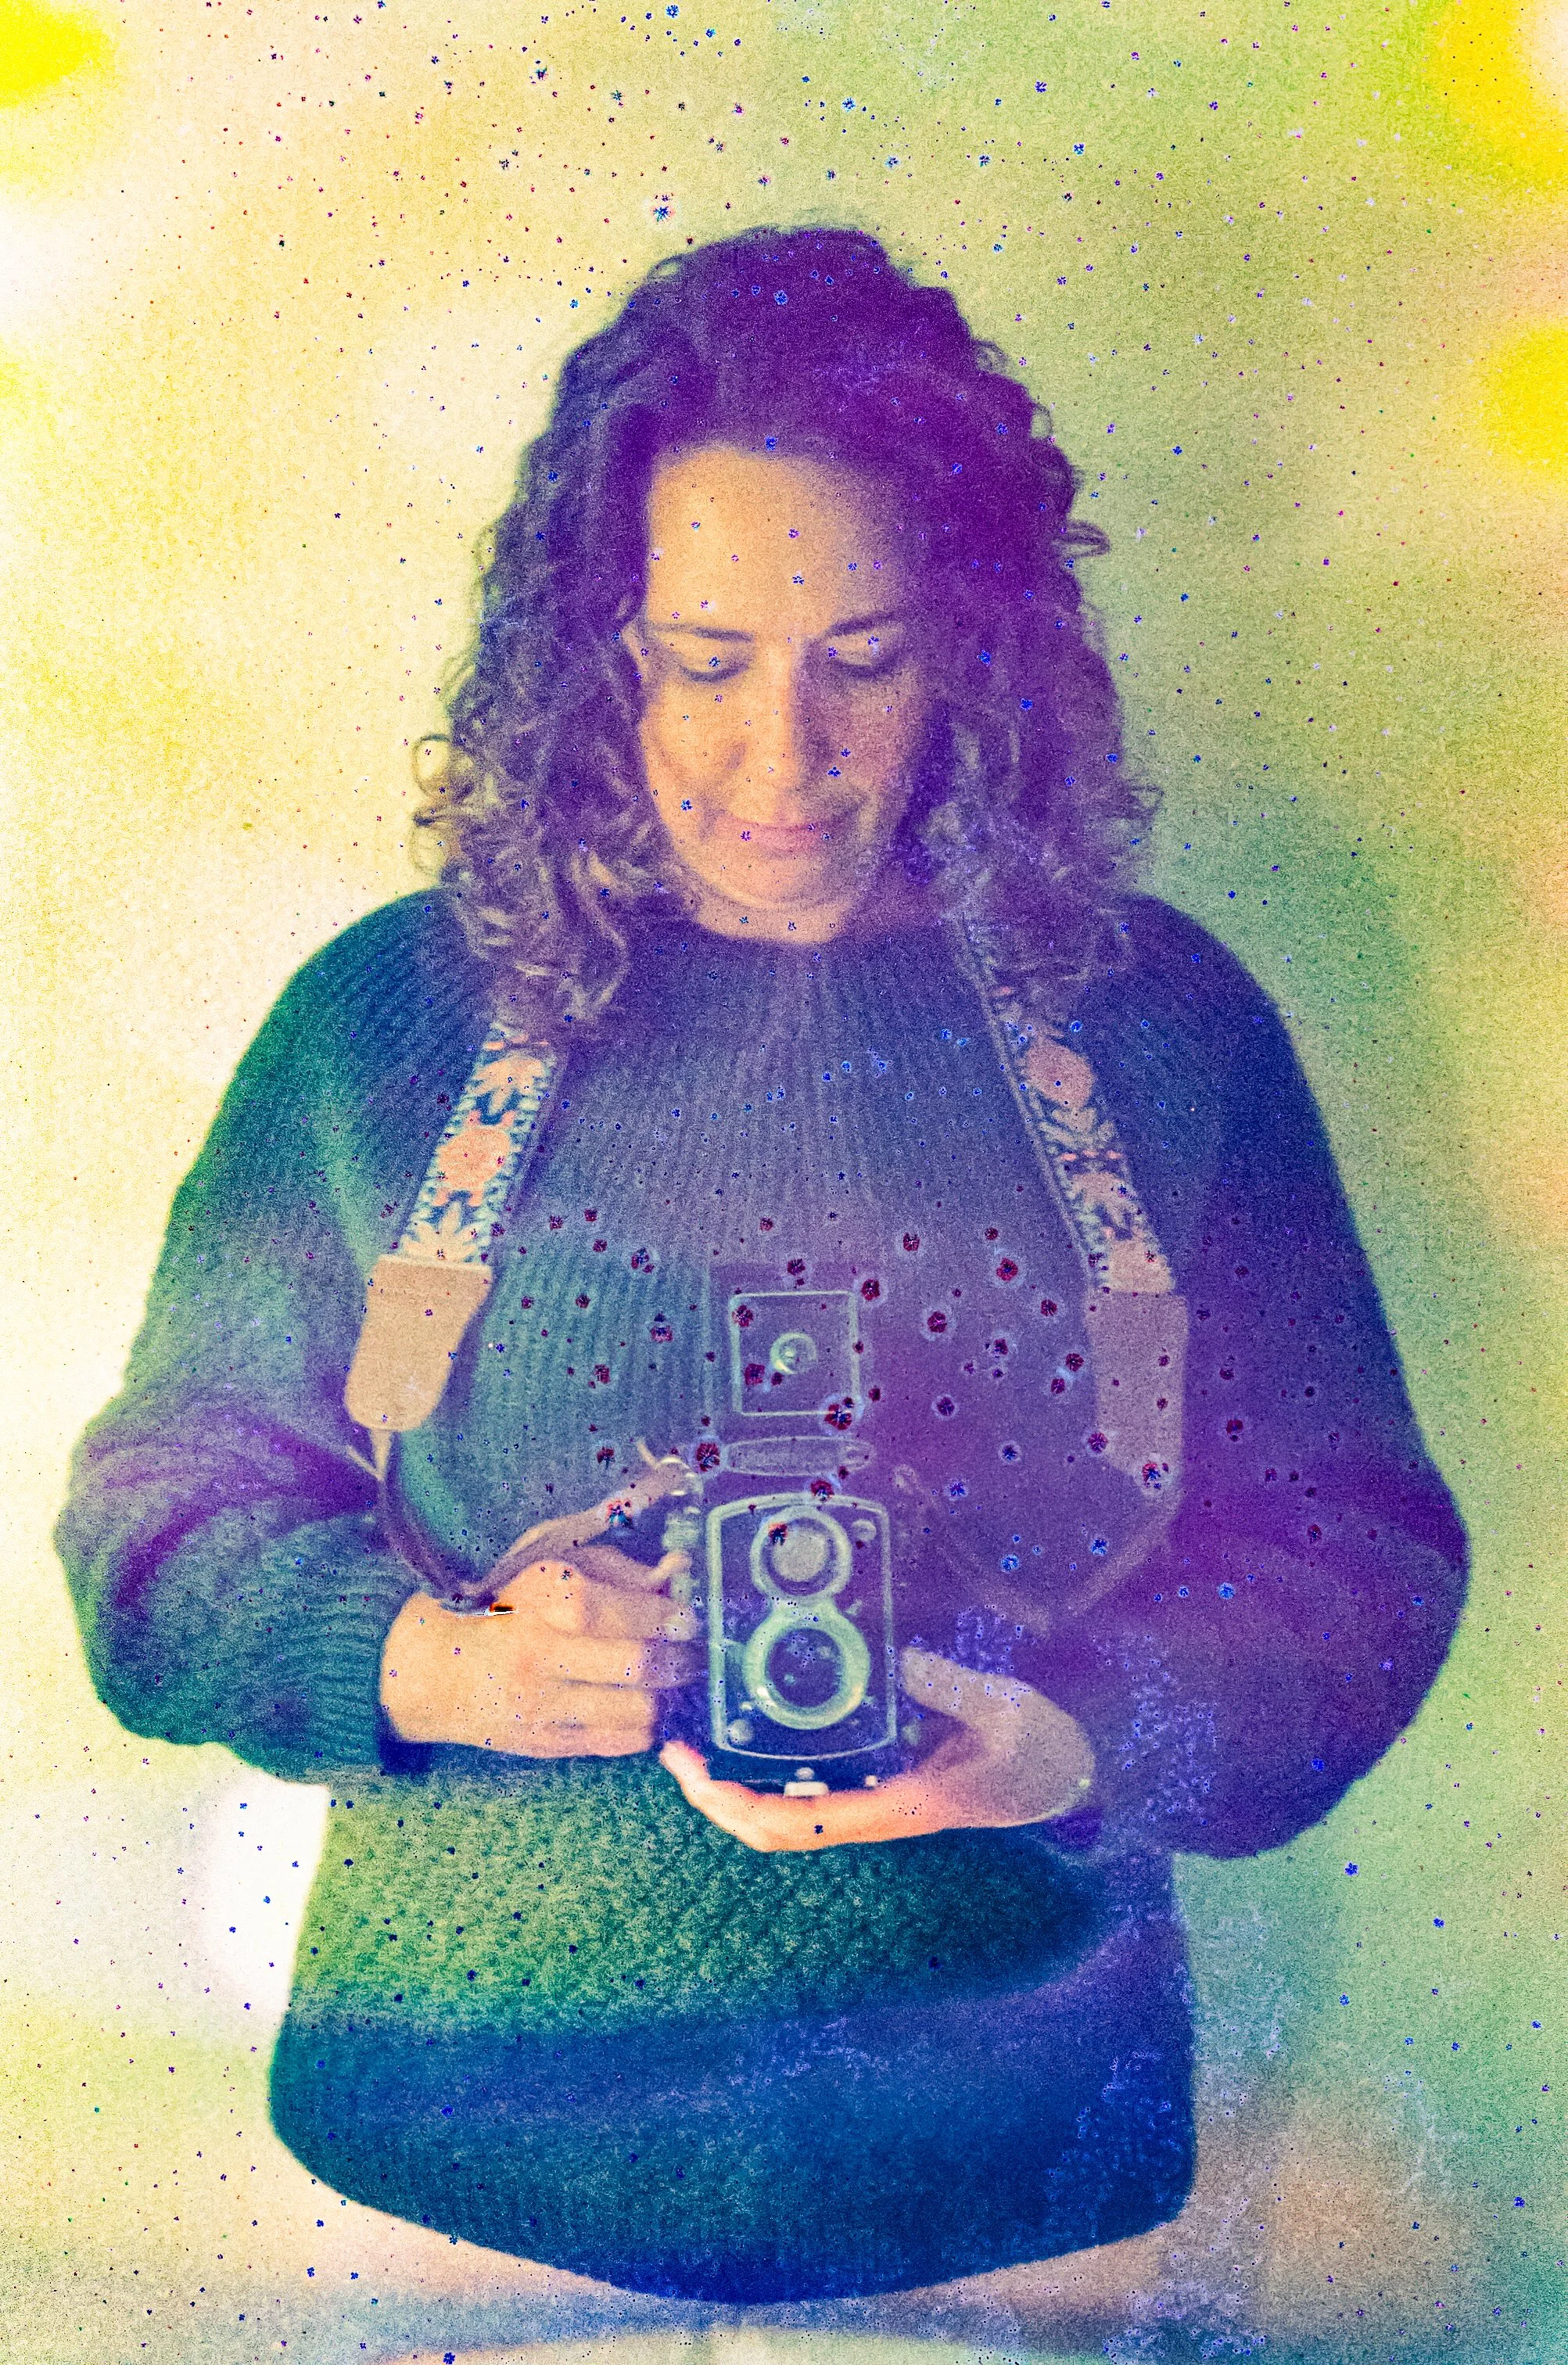
Film Soup Look with Polaroids | Alison Hatch PHoto
If you know me, it’s no surprise that I love a good souped roll of film. This month, I’m taking on a Gratitude Challenge, capturing one instant film image a day to reflect on what I’m thankful for. As part of my creative goals (and the mental boost of a daily gratitude practice), I wanted to try new techniques with Polaroid film. I did some research on ways to “soup” Polaroids, but most methods require a lot of time—just like with regular film soup. Since I wanted my images ready each day, I decided to experiment with a faster process.
I don’t have a ton of experience with this type of film, so I approached it as a “learn-as-you-go” project. When I started cutting up an image and adding paint, my expectations were pretty low. But the result? It turned out so good! I shared my souped images on Instagram, and the response was incredible, with so many people asking how I did it. So here’s a quick tutorial for everyone curious—and for you too!
Supplies Needed
- Black and White Polaroid Film
- Sharp X-Acto Knife
- Watercolor Paints (I used basic Crayola ones)
- Brushes in different sizes
- Water
Step 1: Take the PictureWhen planning your shot for Film Soup, keep it simple. Create some negative space where the paint can really show through. Avoid overly dark images, and make sure your subject stands out so it doesn’t get lost in the “soup.”
Step 2: Separate the Image from the Plastic FrontOnce your image has fully developed (this takes a few hours), carefully score the top of the back with an X-Acto knife. Gently use the tip to separate the image from the plastic front, being careful not to damage the picture too much. You don’t need to go down more than a few centimeters.
Step 3: Start PaintingBefore you start, choose a color scheme. The colors will blend on the image, so pick shades that complement each other and create a nice result when mixed (I went with yellow and blue to get green). With a wet, paint-loaded brush, start working the brush under the plastic, loosening it as you go. Add water as needed to help with the separation, but remember—less paint, more water. You want just enough paint for a vibrant yet subtle effect.
Step 4: Smoosh ItOnce you’ve applied the paint, press down on the front of the plastic with your fingers, smooshing it around to create a swirling “soup” effect.
Step 5: Let It Dry and EnjoyOnce dry, your souped Polaroid is ready to be enjoyed!
I hope this inspires you to try your own take on Film Soup!
If you enjoyed this tutorial and want to dive deeper into creative techniques with analog film, check out my tutorial library! I offer a range of resources and courses on everything from film soup, to getting started with film, and other photography techniques. Head over to explore, get inspired, and expand your creative toolkit!
Alison Hatch is an analog film photographer, educator, podcast host, and artist. Alison offers her Albuquerque and San Diego clients a stress-free and memorable experience getting photos taken. She has been featured in Shoot It With Film and published in the Front Steps Project Book. Alison splits her time between New Mexico and Southern California with her husband and three boys.


